
IMAGE OPTIMIZATION
Based on differing environmental conditions and general user preference, certain measures can be taken to optimize the image seen through the HALO/HALO-LR. All parameters related to image optimization are located under Menu -> Video Settings.
BRIGHTNESS: Changes the brightness of the display.
CE: Increasing Contrast Enhancement (CE) helps to distinguish fine image details in low thermal contrast conditions. Setting the value too high will cause a grainy image. Setting the CE Level between 0- 2 works best for average conditions.
SHARPNESS: Increasing image sharpness makes details of the image more pronounced. Setting sharpness too high may lead to loss of finer details.
GAMMA: Changing the Gamma curve for the display will make the image appear darker or brighter. Gamma does not have any effect on image details. Default value is 1.
ROI: Selects the most appropriate Region of Interest (ROI). For scanning, recommended setting for ROI is Full. ROI ½ and ROI ¼ leads to the optimization of the image on the ½ or ¼ central part of the image. This will make the part of the image that is closer to the center look better. The peripheral parts of the image may become washed out.
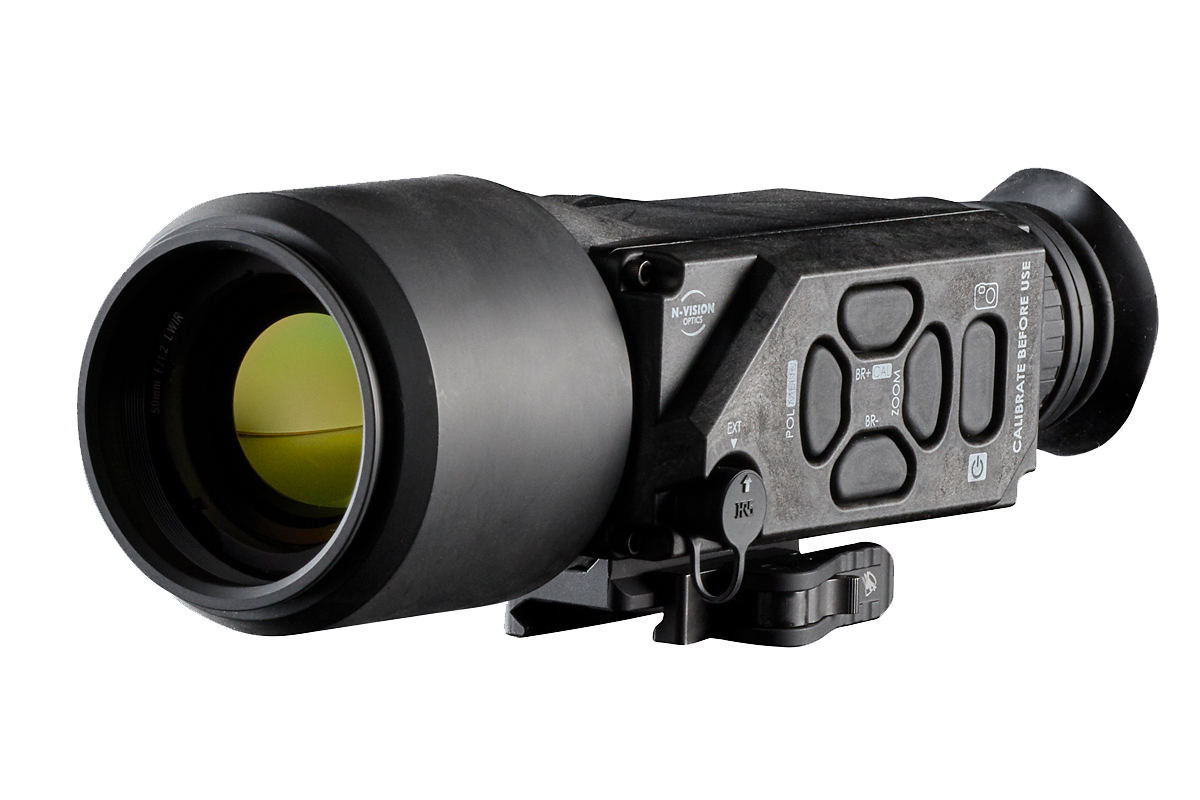
CALIBRATION: HALO/HALO-LR only supports manual calibration. Calibration is performed by completely covering the objective lens and holding down the CAL button until the image appears to reset itself. The unit has to be calibrated when it is first turned on and later when the image quality degrades during use.
MISCELLANEOUS
FOCUS: HALO/HALO-LR scopes do not need to be focused. HALO/HALO-LR’s fixed focus provides high quality imaging in most real-life scenarios without requiring user’s attention.
DIOPTER ADJUSTMENT: Adjust the focusing ring to achieve the best possible focus on the display screen. Make sure that the reticle is as sharp as possible.
MULTIPLE ZEROES: Users can save up to four reticle positions by selecting one of the Reticle Numbers in the Reticle Menu. Each Reticle Number is saved with its Reticle Type and zeroing information. Performing a manual reset of the HALO/HALO-LR will not affect saved zeroes.
MENU ITEMS VISIBILITY: Note that at high values of Contrast Enhancements (CE) and Sharpness settings, menu font may appear dim or blurred. It is recommended to decrease CE and Sharpness settings if this causes issues with clarity. We recommend setting CE and Sharpness values to 0-2 and only change them if it is necessary. Menu fonts may be hard to read in Edge Detect mode (polarity). It is recommended to enter menu mode while in Black Hot or White Hot.
BATTERIES: HALO/HALO-LR takes regular CR123 and rechargeable CR123 batteries. No additional adapters are required for use of rechargeable CR123 batteries. Not all rechargeable batteries are the same and some may not be able to hold recoil of your weapons. Please use reputable battery sources. Remove batteries after use.
EXTERNAL POWER: HALO/HALO-LR will work from any external USB power source (power banks/bricks, USB chargers, computer ports, as long as USB output is rated at least 1A).
VERTICAL LINES ON THE SCREEN AFTER THE STARTUP: In some very rare cases, the user may observe vertical lines on the screen after the startup. This is related to the inner workings of the thermal imaging core. This is not considered a defect or failure of the system. To clean up the screen, simply cycle through the zoom from 1X to 2X to 4X and back to 1X and vertical lines will disappear.
RESTORE TO FACTORY SETTINGS: Occasionally, the user may want to restore the HALO/HALO-LR to original factory settings. In some cases this may help to improve the image quality. To restore the unit, while it is On, press and hold the
BR- switch for approximately 15 seconds until the unit turns off (image disappears). HALO/HALO-LR will return to original factory settings upon powering back up.
WARNING: HALO/HALO-LR are precision optical instruments and we recommend treating them with the utmost care. Do no scratch optical surfaces. Clean them carefully if contaminated. Do not point thermal imaging devices at hot sources such as the sun or sources of fire. This may damage the sensor.
FAQ
My Zoom button is not working, how do I fix this?
Go to the Main Menu –> Video Settings –> Digital Zoom. Ensure that Zoom is not “Off”, you can select 2x, 2x and 4x and 2x, 4x, 8x.
My screen freezes and whites out when operating the unit with an external battery pack, how do I avoid this?
If you experience a frozen white screen upon firing your weapon please check the USB cables connection to the external battery pack. A “loose” connection can cause the unit to experience a dip in power which can result in a frozen white screen. Simply turn the unit off and then on again and resume use. Ensure the connection between the USB Cord and the external battery pack is secure.
How do I prevent my unit from turning off during normal operation while using CR123 batteries?
Try swapping out your CR123 batteries for new ones. If the CR123 batteries you are using have shorter positive terminals the batteries may fail to make an adequate connection. Ensure the battery cap is tightened fully. If this continues to happen try powering your unit up with an external battery pack. If your unit powers up while connected to an external swap out your CR123 batteries for a new set and repeat.
What can I do if my unit will not turn on after repeated attempts of pressing down the power button (power source can be either external or CR123)?
Email N-Vision Optics at info@nvisionoptics.com to receive instructions on how to perform a Halo Reset. This reset must be performed on a PC, and takes approximately 5 minutes to complete.
I do not see a reticle in the display, how do I fix this?
Go to the Main Menu –> Reticle –> Show Reticle. Ensure that Show Reticle says “Yes”.
How far does one click move my reticle when performing a zero?
Halo – 1 click represents 2 Minutes of Angle (MOA) at every zoom level
Halo LR – 1 click represents 1 Minutes of Angle (MOA) at every zoom level.
How do I save my zero after I have made adjustments?
To save your adjustments made during the zeroing process press the power button. After pressing the power button you will be automatically removed from the zero screen back to normal operating screen.
WE ARE HERE TO HELP If you have any questions about your HALO/HALO-LR thermal scope, or need help with configuring or troubleshooting, please contact
us. We will be glad to help you get the most out of your HALO/HALO-LR. You can email us at info@nvisionoptics.com or call 781-505-8360.